
ESP32-CAM Video Streaming and Face Recognition
Iman Maulana Farizi
Summary
Dalam proyek ini saya membuat kamera pengintai IP dengan papan ESP32-CAM. Kamera ESP32 akan menghosting server web streaming video yang dapat Anda akses dengan perangkat apa pun di jaringan Anda.
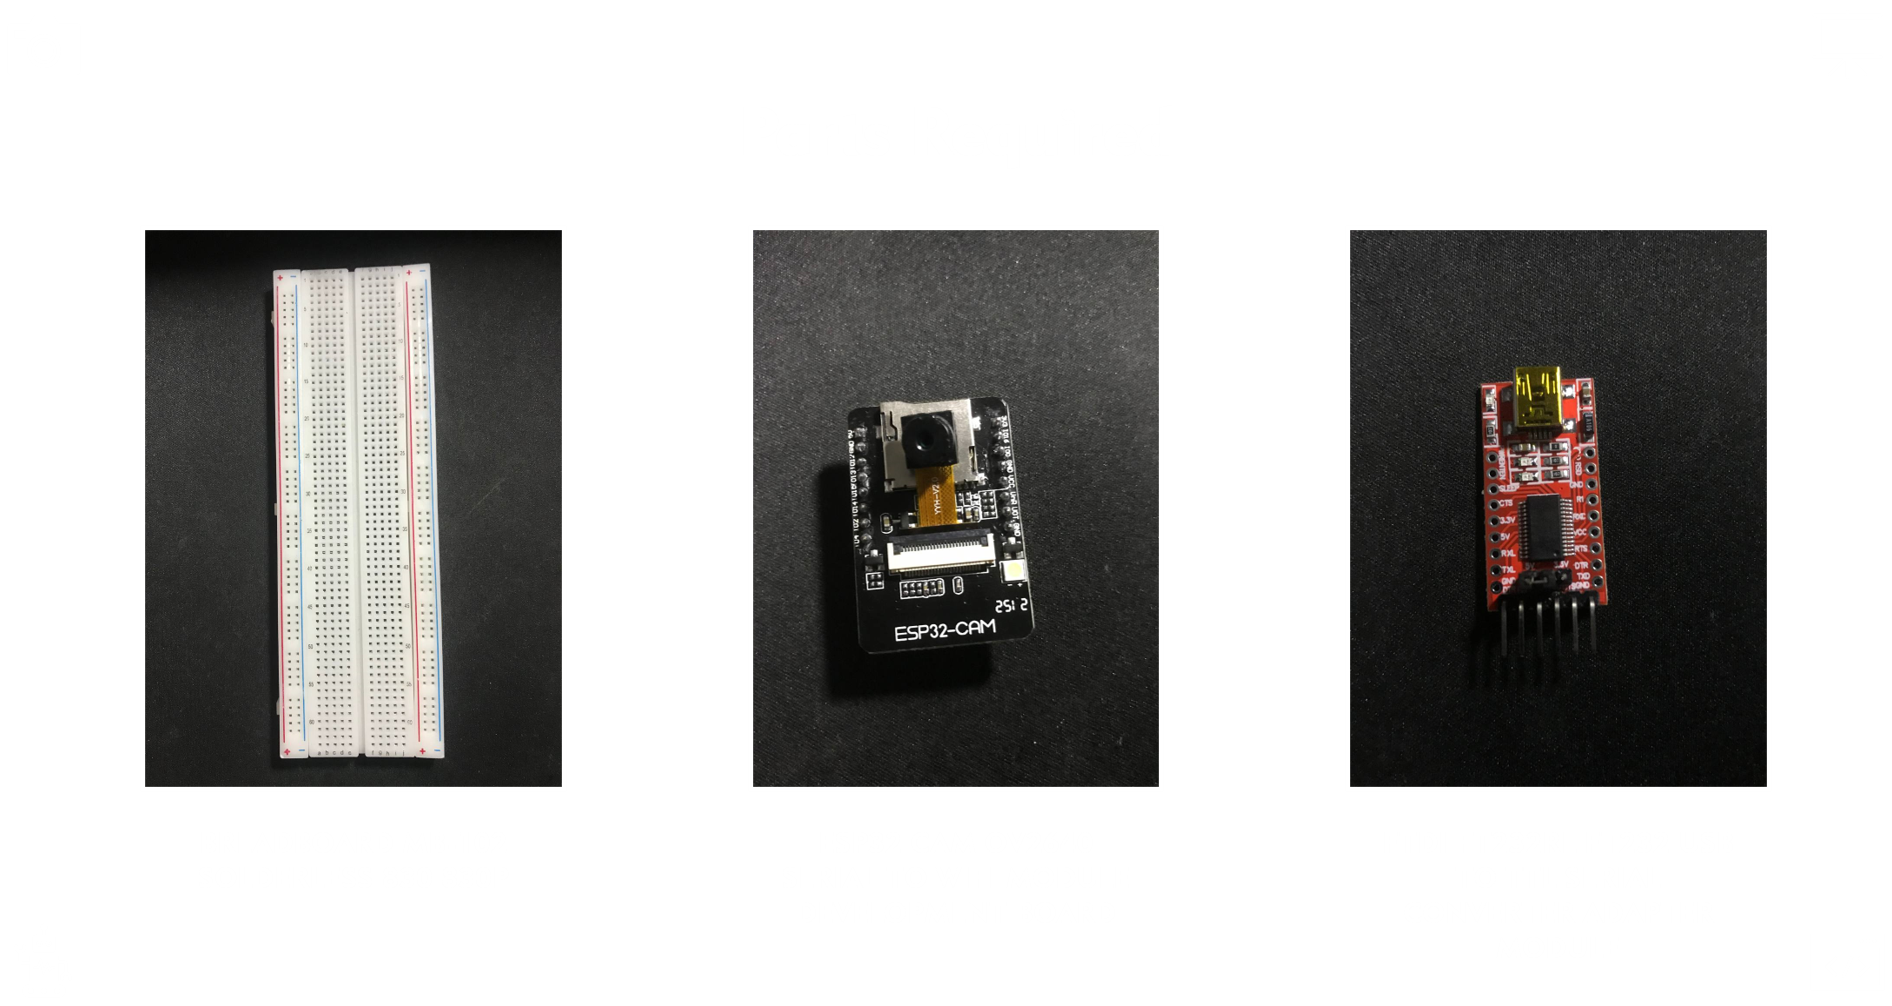
ESP32-CAM with OV2640 – read Best ESP32-CAM Dev Boards
FTDI programmer
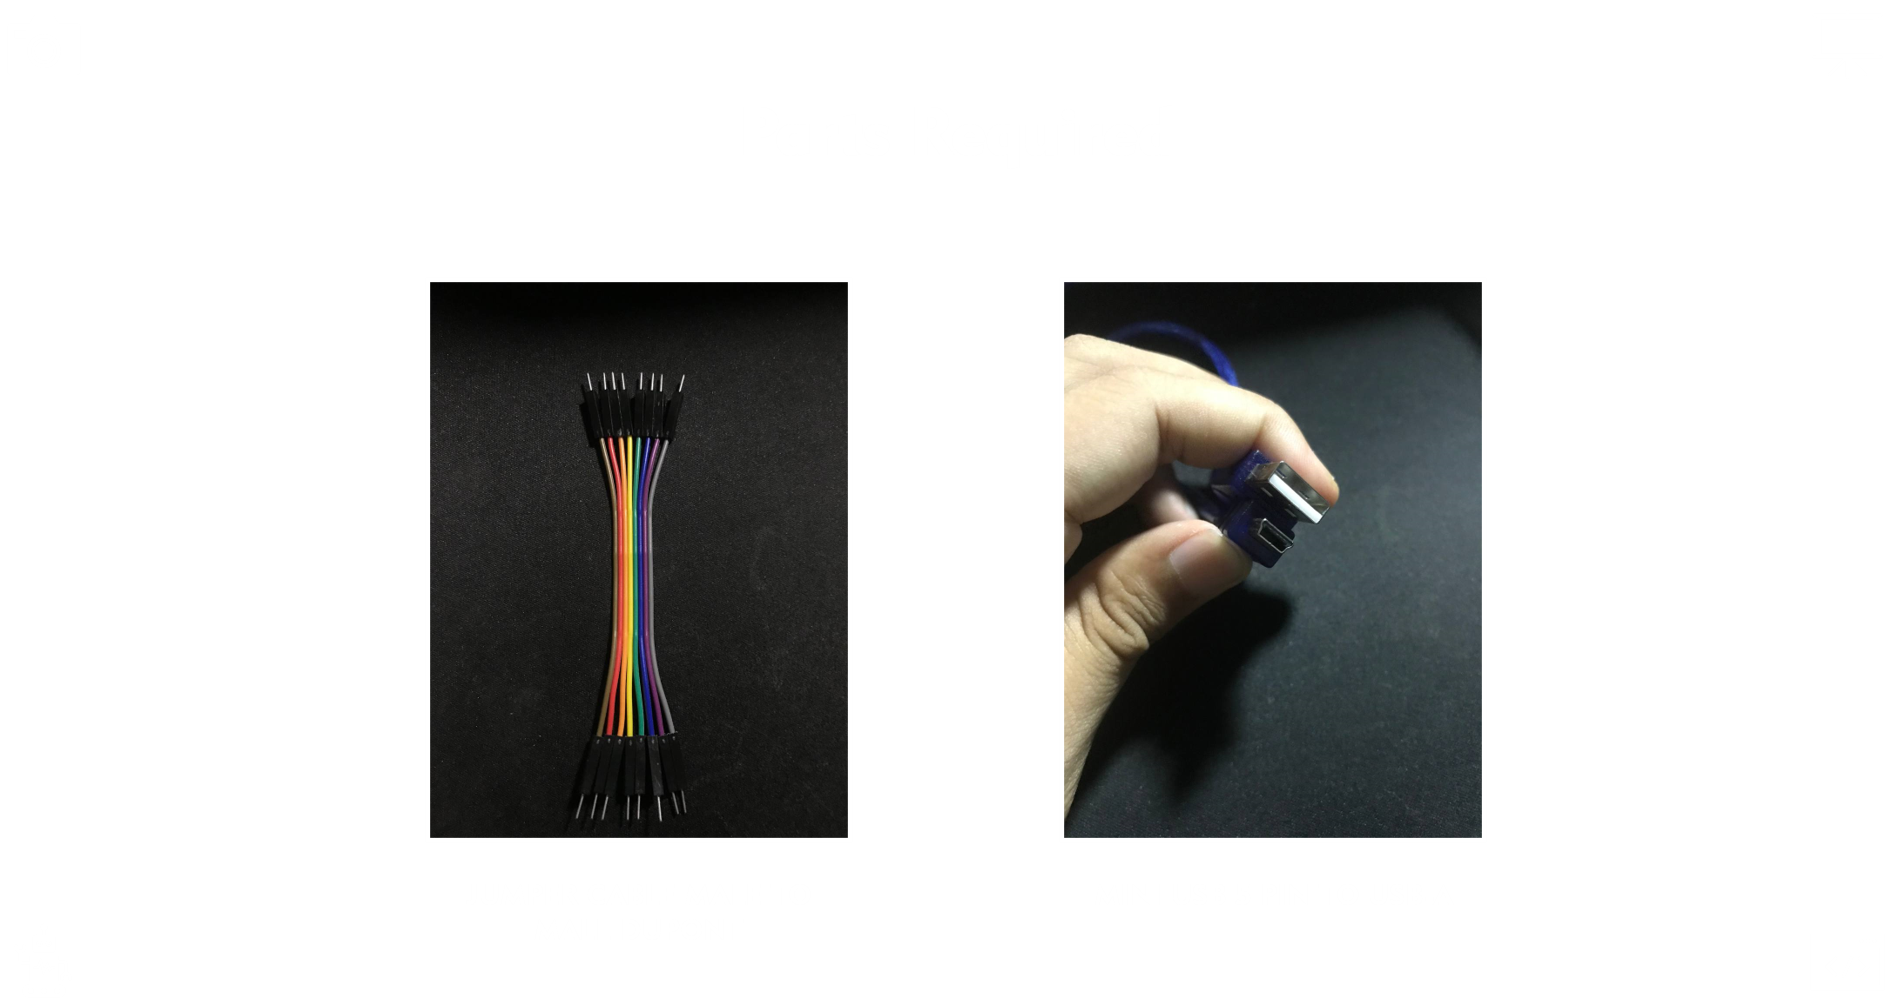
Female-to-female jumper wires
Description
Dalam proyek ini saya membuat kamera pengintai IP dengan papan ESP32-CAM. Kamera ESP32 akan menghosting server web streaming video yang dapat Anda akses dengan perangkat apa pun di jaringan Anda.
Parts Required
ESP32-CAM with OV2640 – read Best ESP32-CAM Dev Boards
FTDI programmer
Female-to-female jumper wires
ESP32-CAM adalah modul kamera yang sangat kecil dengan chip ESP32-S yang harganya sekitar $10. Selain kamera OV2640, dan beberapa GPIO untuk menghubungkan periferal, ia juga dilengkapi slot kartu microSD yang dapat berguna untuk menyimpan gambar yang diambil dengan kamera atau menyimpan file untuk disajikan kepada klien.
ESP32-CAM tidak dilengkapi dengan konektor USB, jadi Anda memerlukan pemrogram FTDI untuk mengunggah kode melalui pin U0R dan U0T (pin serial).
Fitur
Berikut adalah daftar dengan fitur ESP32-CAM:
Modul SoC Wi-Fi BT 802.11b/g/n terkecil
CPU 32-bit berdaya rendah, juga dapat melayani prosesor aplikasi
Kecepatan clock hingga 160MHz, daya komputasi ringkasan hingga 600 DMIPS
SRAM 520 KB bawaan, 4MPSRAM eksternal
Mendukung UART/SPI/I2C/PWM/ADC/DAC
Mendukung kamera OV2640 dan OV7670, lampu flash bawaan
Mendukung pengunggahan WiFI gambar
Mendukung kartu TF
Mendukung beberapa mode tidur
Tertanam Lwip dan FreeRTOS
Mendukung mode operasi STA/AP/STA+AP
Mendukung teknologi Smart Config/AirKiss
Dukungan untuk upgrade firmware lokal dan jarak jauh port serial (FOTA)
Pinout ESP32-CAM
Gambar berikut menunjukkan pinout ESP32-CAM (modul AI-Thinker).
modul ai-thinker pinout esp32-cam
Sumber gambar – Lihat Studio
Ada tiga pin GND dan dua pin untuk daya: 3.3V atau 5V.
GPIO 1 dan GPIO 3 adalah pin serial. Anda memerlukan pin ini untuk mengunggah kode ke papan Anda. Selain itu, GPIO 0 juga berperan penting, karena menentukan apakah ESP32 dalam mode berkedip atau tidak. Saat GPIO 0 terhubung ke GND, ESP32 dalam mode berkedip.
Pin berikut terhubung secara internal ke pembaca kartu microSD:
GPIO 14: CLK
GPIO15: CMD
GPIO 2: Data 0
GPIO 4: Data 1 (juga terhubung ke LED terpasang)
GPIO 12: Data 2
GPIO 13: Data 3
Video Streaming Server
Follow the next steps to build a video streaming web server with the ESP32-CAM that you can access on your local network.
Important: Make sure you have your Arduino IDE updated as well as the latest version of the ESP32 add-on.
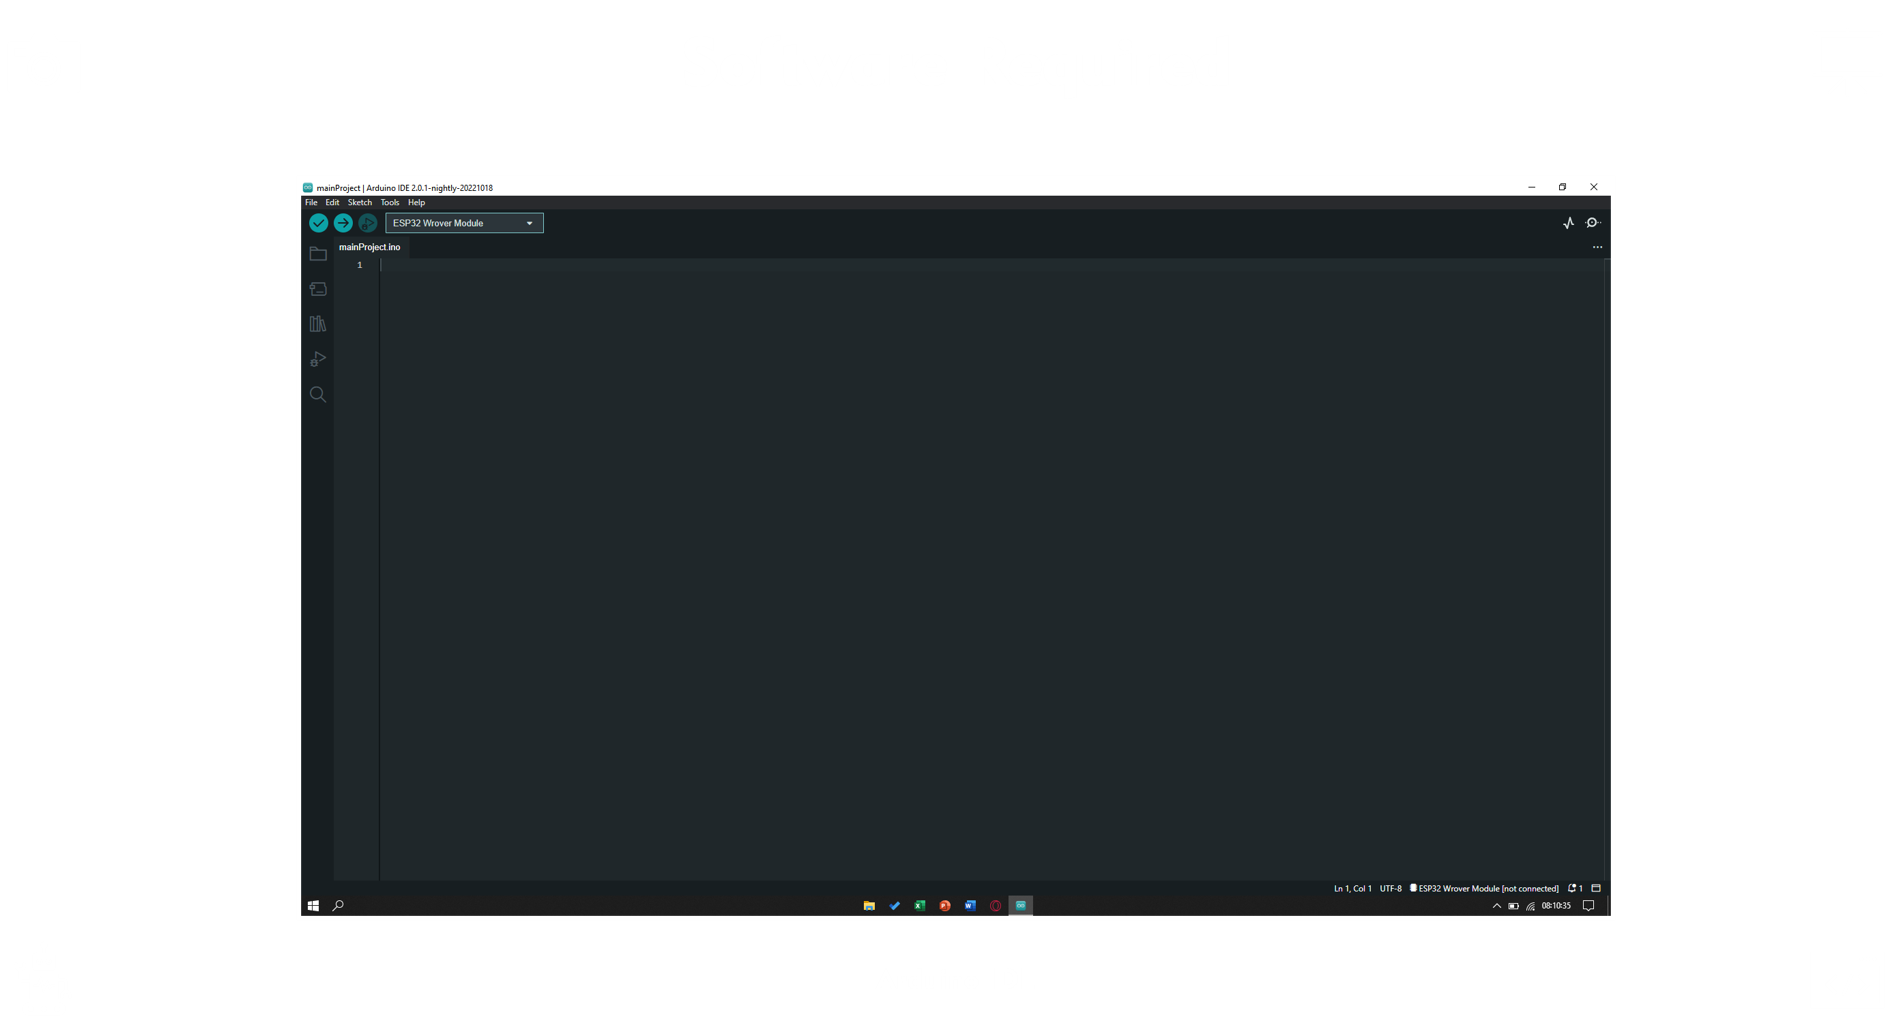
1. Install the ESP32 add-on
In this example, we use Arduino IDE to program the ESP32-CAM board. So, you need to have Arduino IDE installed as well as the ESP32 add-on. Follow one of the next tutorials to install the ESP32 add-on, if you haven’t already:
- Installing the ESP32 Board in Arduino IDE (Windows instructions)
- Installing the ESP32 Board in Arduino IDE (Mac and Linux instructions)
2. CameraWebServer Example Code
In your Arduino IDE, go to File > Examples > ESP32 > Camera and open the CameraWebServer example.

The following code should load.

Before uploading the code, you need to insert your network credentials in the following variables:
const char* ssid = "REPLACE_WITH_YOUR_SSID"; const char* password = "REPLACE_WITH_YOUR_PASSWORD";
Then, make sure you select the right camera module. In this case, we’re using the AI-THINKER Model.

So, comment all the other models and uncomment this one:
// Select camera model //#define CAMERA_MODEL_WROVER_KIT //#define CAMERA_MODEL_ESP_EYE //#define CAMERA_MODEL_M5STACK_PSRAM //#define CAMERA_MODEL_M5STACK_WIDE #define CAMERA_MODEL_AI_THINKER
If none of these correspond to the camera you’re using, you need to add the pin assignment for your specific board in the camera_pins.h tab.
Now, the code is ready to be uploaded to your ESP32.
3. ESP32-CAM Upload Code
Connect the ESP32-CAM board to your computer using an FTDI programmer. Follow the next schematic diagram:

Many FTDI programmers have a jumper that allows you to select 3.3V or 5V. Make sure the jumper is in the right place to select 5V.
Important: GPIO 0 needs to be connected to GND so that you’re able to upload code.
ESP32-CAM | FTDI Programmer |
| GND | GND |
| 5V | VCC (5V) |
| U0R | TX |
| U0T | RX |
| GPIO 0 | GND |
To upload the code, follow the next steps:
1) Go to Tools > Board and select AI-Thinker ESP32-CAM.
2) Go to Tools > Port and select the COM port the ESP32 is connected to.
3) Then, click the upload button to upload the code.

4) When you start to see these dots on the debugging window as shown below, press the ESP32-CAM on-board RST button.

After a few seconds, the code should be successfully uploaded to your board.
Getting the IP address
After uploading the code, disconnect GPIO 0 from GND.
Open the Serial Monitor at a baud rate of 115200. Press the ESP32-CAM on-board Reset button.
The ESP32 IP address should be printed in the Serial Monitor.

Accessing the Video Streaming Server
Now, you can access your camera streaming server on your local network. Open a browser and type the ESP32-CAM IP address. Press the Start Streaming button to start video streaming.

You also have the option to take photos by clicking the Get Still button. Unfortunately, this example doesn’t save the photos, but you can modify it to use the on board microSD Card to store the captured photos.
There are also several camera settings that you can play with to adjust the image settings.
Finally, you can do face recognition and detection.

First, you need to enroll a new face. It will make several attempts to save the face. After enrolling a new user, it should detect the face later on (subject 0).

And that’s it. Now you have your video streaming web server up and running with face detection and recognition with the example from the library.
Informasi Course Terkait
Kategori: Internet of Things / FPGACourse: Embedded System Berbasis Arduino